One of the more distinct features of a bonsai tree is the motion. This attributes to bends, twists, and shapes occurring in the trunk of the tree. If you’re engaging with your own bonsai tree, at times the simplest method to acquire movement is to make it with yourself through the use of wire. Wiring is an effective method of bending a bonsai tree.
If you got a young pant and you like it to grow becoming a bonsai but at the same time you do want to leave big marks of cuts in the tree, bending can be a good idea. The primary concept is that you allow a young tree to flourish out. And while the primary stem begins to harden in the later part of the growing season, you bend down the primary stem and put a side branch in its setting.
The trunk merits particular consideration since it is one of the most conspicuous attributes of a bonsai tree. Hence, it also goes that you have to apply useful methods to achieve a good bend trunk.
Here are the basic steps in bending the trunk of an immature bonsai tree:
Step #1: Condition your Tree
Conditioning your tree for your bending will set the task a lot simpler. This will also give you a greater rate of success. Allow your tree to sizzle for one day. You must know that a tree that is newly irrigated will easily break if bended. By allowing it to sizzle, the trunk becomes more malleable which gives it the very least chance to break.
If you intend to check it with an experiment, try drenching celery in the water and then bend it. Do it again the moment it has been overlooked for a moment.
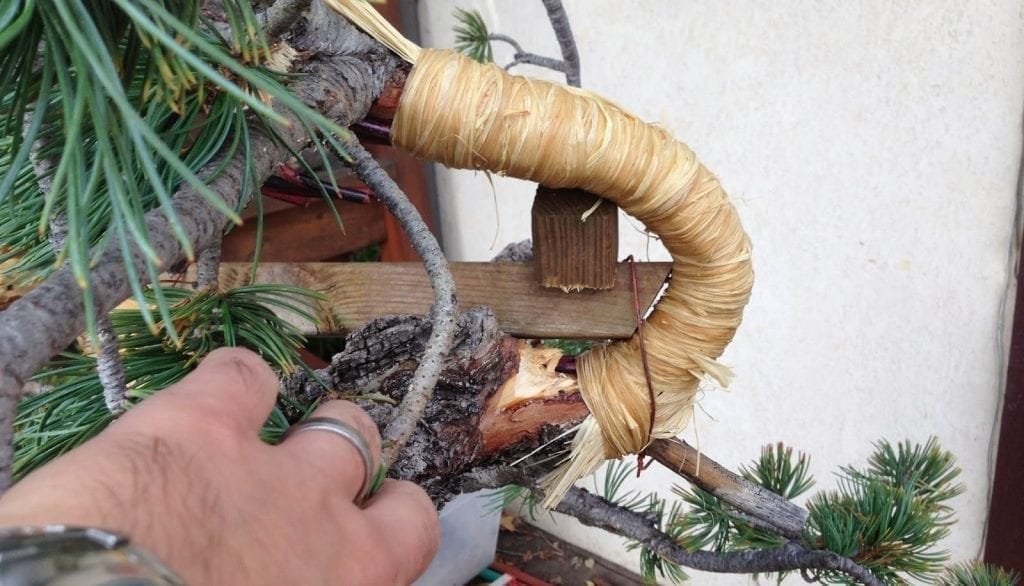
Image Credit: Branch Work
Step #2: Identify the Suitable Size of the Wire
Typically speaking, any kind of wire may be utilized to bend a bonsai tree. The purpose is to bend the trunk and any methods applied to acquire that edge is acceptable. Essentially, nevertheless aluminum and copper wire have set the standards.
Begin by deciding whether the wire is sufficiently thick to execute the task demanded by it. For you to bend the trunk of the tree, you must use the right size of the wire. You must understand the possibilities of using inappropriate wire size. Wires that are extremely small are not capable of holding the trunk.
Check out this video:
You may use two pieces of wire bruise alongside one another if needed. The overall protocol is to make use of a wire that measures one-third of the trunk’s diameter. Securely hold the wire by pushing the other end into the soil at the trunk’s base, right to the lower portion if only using a hollow dish.
By using one hand, firmly hold the wire to the trunk’s base. Using the other hand, start to coil the wire in an angle of 45 degrees. After every turn, impel the hand which is making the wire flexed upwards in order for it to pursue the spiral while it entwines up the trunk.
Correlate the trunk with the wire to assist you in identifying what wire to utilize. When the trunk turns extremely slim for the wire that you are using, modify to a greater strand. Trail the wider wire up the bonsai trunk for a minimum of two turn’s prior proceeding to the top.
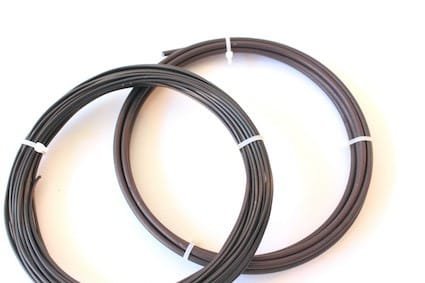
Image Credit: Bonsai Empire
Step #3: Institute the Base of the Wire
Embed the wire through an angle of 45 degrees around 2-3 inches into the soil instantly at the base of the trunk. As you maintain the wire at this position in the soil, encase a compact coil (45 degrees) all over the trunk’s base. Perform this firmly fleeing no spaces between the trunk and the wire.
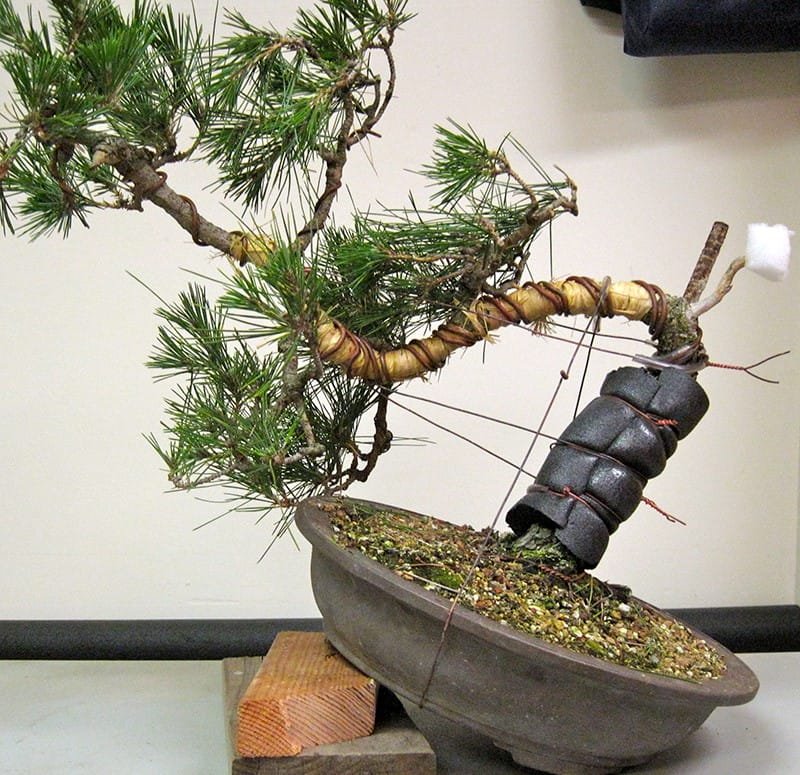
Step #4: Administer the Wire to the Trunk
Keep on administering the wire in an angle of 45 degrees besides the trunk assurgent until you approach the edge of the trunk at the high point. Securing the 45-degree angle are essential factors in assisting you bending the trunk.
Check out this video:
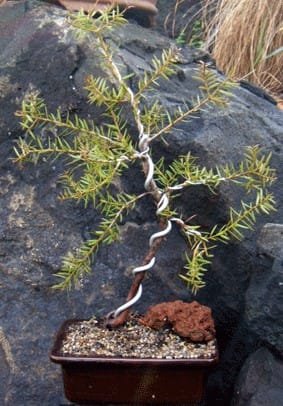
Image Credit: WordPress.com
The moment you have attained near to the high point, you may end the wiring once the trunk begins to dwindle where it is younger. Close off any exceeding wire.
Usual mistakes in wiring:
- Wire is extremely near and shall curb the sap flow that can kill the trunk.
- Wire is extremely open, and shall not have enough power to hold.
- Wire is extremely unconstrained and shall carry no impact at all.
Step #5: Close off Excess Wire
The moment you get into the edge of the trunk approaching the apex, you may close off the excess wire. You may make use of a bonsai wire cutter to securely get rid of the wire without having to destroy the trunk.
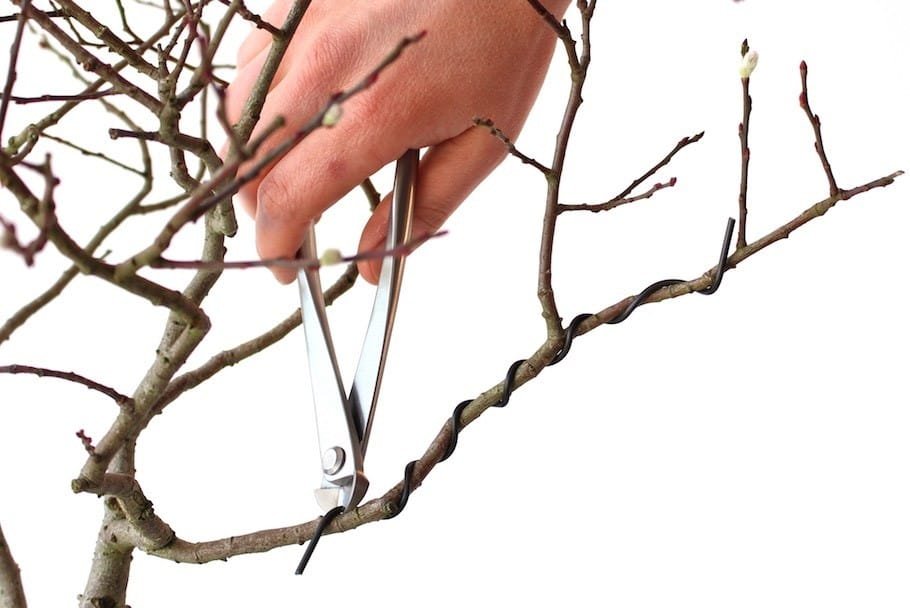
Image Credit: Bonsai Empire
Step #6: Establish Trunk Movement
Fasten your wrists. Utilize your forearms in order to bend the trunk and establish a movement. It is suggested to make more compact and denser bends while you get neared to the high point of the trunk.
Bend the trunk by using your two hands, by using the thumbs serving as the support. Establish the shapes more confined approaching to the top. Put in mind, a tree is described as three-dimensional, therefore it must be proportionally bent backward and also forwards, side by side.
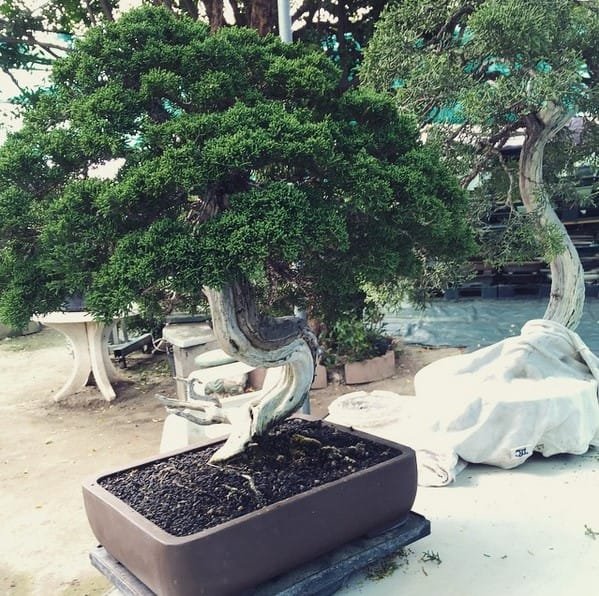
Image Credit: Eastern Leaf Knowledge Base
You may try creating bends having a singular even motion constant re-alteration will destroy the bark.
If you are engaging with a wider trunk, you may also consider using Jin Pliers. By using this more radical method, you are able to bend the wider trunk through the use of two pliers in the position of your hands.
Step #7: Wait for the Time that the Trunk is already set
The moment you are done in bending the trunk of the tree, you will have to commonly wait for 3-4 months in order for the wire to set before getting rid of the wire. If you observe that the trunk begins to wear away into the wire, then it will also be a good time to eliminate it.

