Among the most appealing bonsai subjects are forests, or group plantings. They appear to be realistic and are easily relatable.
When admiring a well-crafted bonsai forest, it is claimed that you can nearly see little birds soaring between the branches. The best aspect is that bonsai forests may be made up of nearly any species.
Continue reading to learn more.
What Does a Bonsai Forest Look Like?
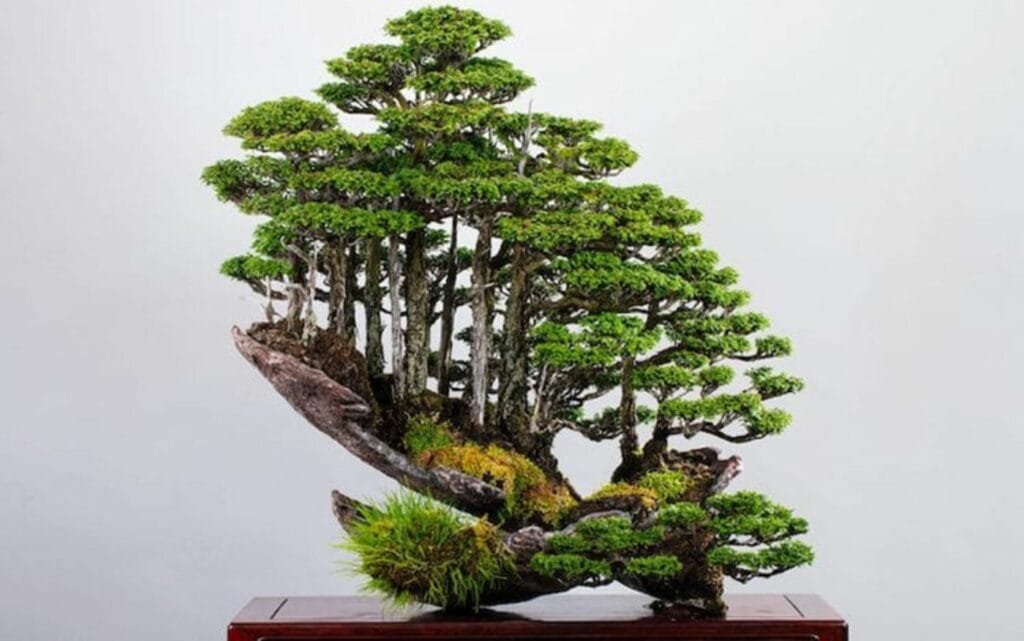
The bonsai forest is precisely what its name implies: a collection of bonsai plants living together in one container.
This technique is commonly used to make multiple sets of a single variety, but it can also be used to produce multiples of several other types. Using different sorts of plants necessitates a more sophisticated strategy because plants have extremely diverse needs, so it is advisable to try mixing plants that have comparable needs to enjoy accomplishment in your forest.
Bonsai Forest Techniques
The more species are added to the forest, the more difficult it becomes to succeed. In certain situations, species will multiply from a single underground root, in which case the trunks will resemble limbs that develop above the soil. The method is called the kabudachi technique.
Naturally, trees are subjected to wind and rain, and they are regularly uprooted. Rain softens the soil, allowing roots to grow near to the surface where there are few subsurface holes. Each of these factors works against the tree’s ability to keep upright as the wind speed increases. Plants, on the other hand, are very adaptive and can survive even when the odds are stacked against them. A bonsai artist seeks to recreate the natural world with results that are as spectacular as the full-sized examples provided by the environment, much as nature encourages a tree to adapt.
Another bonsai forest style is the “ikadabuki” (straight line), where the trunk is completely out of the earth. The classic design allows it to rest on the surface, although a few will be able to essentially grow to some extent, like a “kengai,” and be a little higher than the soil. An additional sub-technique allows the trunk to rest partly underground at a slant, and the bark beneath the soil decomposes from dampness and minute top-soil organisms. In many other styles of forest bonsai, the trunk will be permitted to develop numerous twigs similar to individual trunks, creating the illusion of a forest style, with each “tree” developing from a solitary tree.
One of the other extraordinary sub-types is the netsunagari (sinuous) approach. Forest bonsai are only confined by the imaginations of the artists who create them. This is an ideal medium for enabling individuality as broad as any natural forest formation, and it opens up a wide range of aesthetic possibilities for the bonsai artist who wants to expand beyond the lonely bonsai specimen.
How to Plant a Bonsai Forest
First and foremost, proper bonsai plants must be chosen; a group planting should include trees of all sizes, with a few big ones in the center and several smaller ones on the edges. Use trees that grow largely upright, as having a variety of tree shapes might make the arrangement look strange.
Due to the multitude of artistic criteria that must be observed, the forest style, or Yose-ue (in Japanese), is somewhat complicated. You must also carefully decide which and how many bonsai will be included. If there are a few trees, it is recommended to use odd numbers: 3, 5, 7, 11, and 13, and then add as many trees as you want from there. This is in conformity with the Japanese belief that even numbers can bring bad luck.
It is critical to choose the correct bonsai pot; go for a large, shallow pot and follow the standard color and design standards. When anchoring the trees to the pot, use a pot with many little holes in the bottom.
Use a basic bonsai soil mixture of akadama, pumice, and lava rock in a 1/2 to 1/4 to 1/4 ratio (see this bonsai soil components article for more thorough information).
Step-by-step Procedure
Step #1: Create the layout.
It’s time to plan the design of your bonsai forest now that you have all of the necessary tools. You would not want to start the other phases, get to the part where you have to put in the trees, and then get stuck because you don’t know how you want them to be organized. While the roots are exposed, time is of the essence.
You can either imagine the design in your head, draw it out on paper, or utilize your computer to create it. It is highly recommended to sketch the plan on paper while sitting with the tools and container in front of you. You can also use your hands to arrange the trees in various shapes until you are happy.
Step #2: Get the container ready.
After deciding what you would want your bonsai forest to look like, the next thing you should do is prepare the container you are going to use. Wires should be secured to drainage or any other outlets near where your trees will be planted. You can omit the wires if you are confident that the trunks will not tumble over.
However, a note of warning is necessary. There may not be enough dirt in the container to keep them steady because it is so shallow. It’s always a good idea to wire the trunks to the pot to keep them from blowing over, especially if you’re going to put them outside where the wind might blow them over.
Finally, make sure the drainage holes are covered with mesh. To keep them steadier and ensure they don’t move about, interweave the wire through the mesh. The mesh will keep roots and loose soil out of the holes.
Step #3: Place your bonsai trees in their proper locations.
Now you can put a substrate layer at the bottom of the pot. Chelate or bamboo charcoal are commonly used for this. They will not only help with the security of the trees but also with the neutralization of pH levels. It will also aid in the later aeration of the roots.
If you’re using cuttings that haven’t yet developed roots, you’ll need to dunk the edges in hormone powder first. Connect these to the wires in the layout you designed earlier once they’re finished. As long as they’re in place, they don’t need to stand upright just yet.
On the contrary, we suggest using grafts or small trees with established roots. Cuttings can be kept in little plastic containers containing soil until they establish roots, then transplanted. After this, you can already clear the soil from them and bind them with wires according to your plan once they have roots.
Step #4: Put the soil in place.
You can now arrange the soil in your bonsai forest after all of your trees are in place. If the substrate is sandy, make absolutely sure pebbles or bark substrate anchor the trees in place so the wire doesn’t have to do all of the job. You can either level the dirt or build a mound in the center or from one of the sides.
If you need to hold the soil down, you can use mulch or another substance on the surface. When you water it, make sure the substrate doesn’t move too much. You wouldn’t want the water to struggle to enter the soil and instead pour over the sides.
Step 5: Personalize it to your liking.
Have you ever had to labor in a real forest? You’ll note that among the trees, there isn’t only soil. There are boulders and stones on the forest floor, as well as some fallen leaves. It’s great to have some decorations, even if you don’t have to copy everything.
To bring emphasis to one central rock, place it in the center or on the side, or litter the surface with tiny stones. Arrange them in a random pattern, but don’t cover the entire area. It should appear as natural as it can be.
Perfect Timing for Bonsai Forest
The best time to begin a group planting is in the spring. The most ideal time to plant a forest is when the trees you’re merging are showing symptoms of new growth.
Aftercare
Position the newly formed bonsai group plantings in the shade for a minimum of a month and wait until the following spring to begin styling the plants.
Final Thoughts
Bonsai forests may appear gorgeous and awe-inspiring, but they require years of development and maintenance to keep your landscape alive. It can be discouraging to have the first couple wrong, but we urge you to keep trying until you succeed.
Visit our blog section for more bonsai updates!

